1 Year of Making
Last updated at Saturday, November 12, 2022.
At the time of writing, it’s been 1 year since I got my 3d got a printer. My 3d printer has been my gateway drug in the making physical projects, so his birthday is the perfect time to looking back on what I’ve made over the past year.
First prints
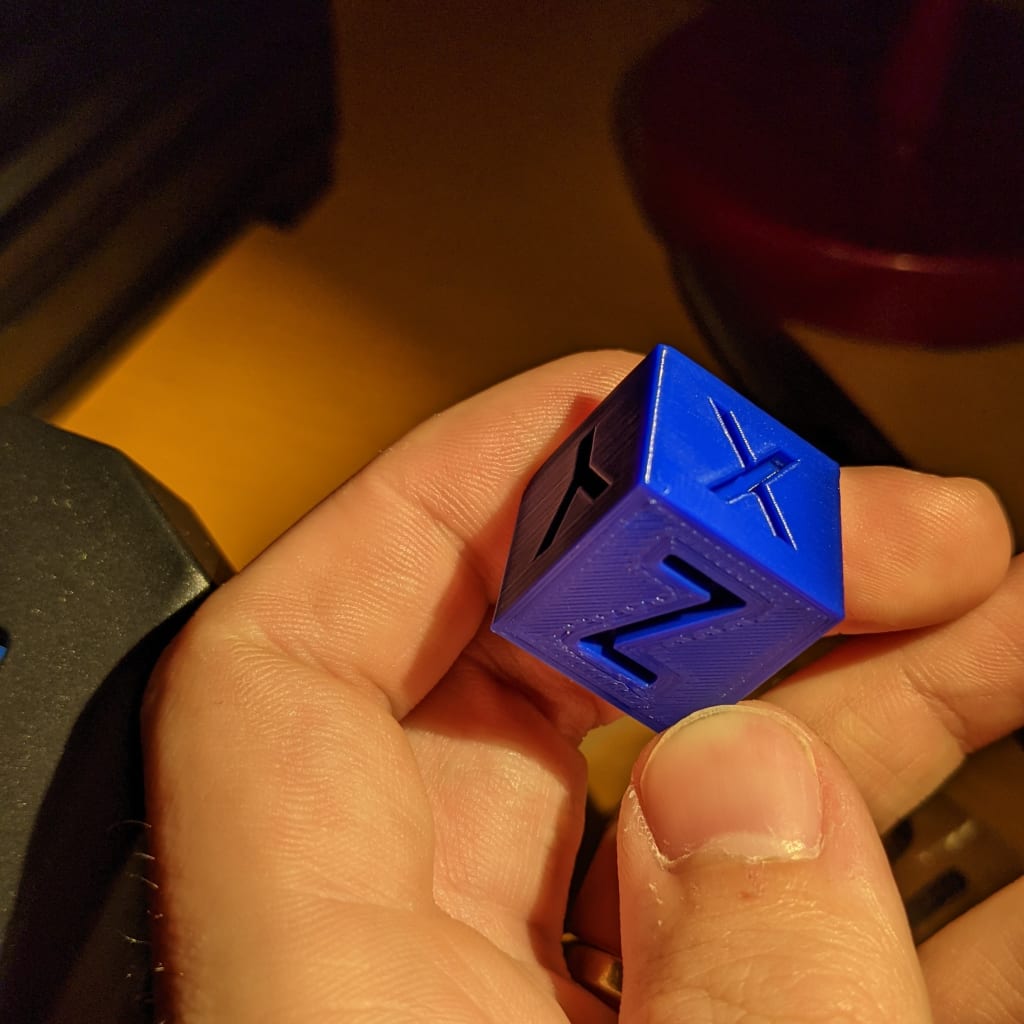
The very first thing I printed was a test cube, to see if everything was working properly.
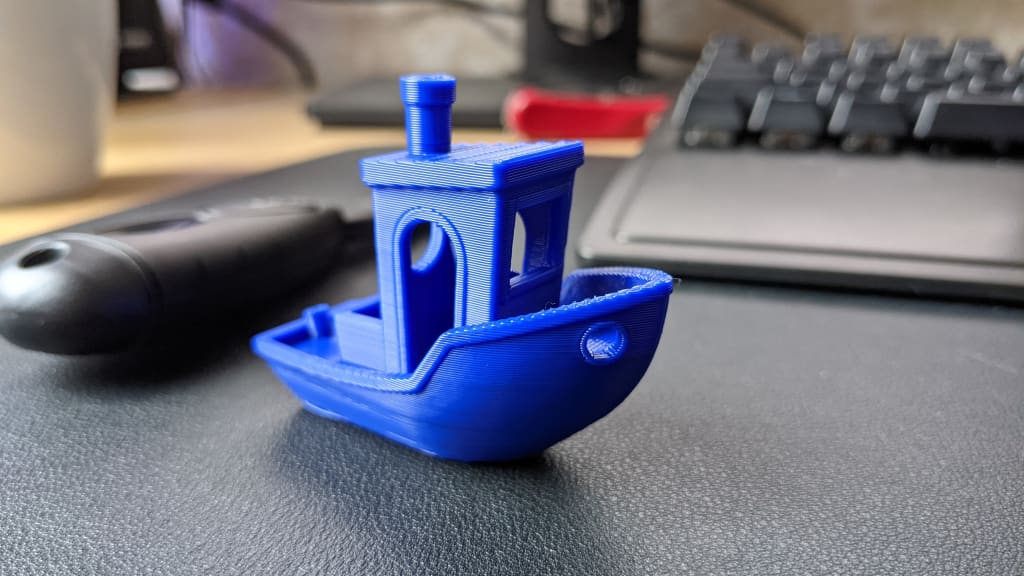
The 2nd print was a Benchy. A Benchy is a standard test print that can be printed quickly, but has many pitfalls from your everyday prints. Because the Benchy is so iconic, problems you encounter are very easy to google.
Useless Crap Era
When you buy a printer, a lot of friends and family want you stuff for their print. Since most things are small, and filament cheap, they cost pennies apiece, but it does make for an endless stream of useless junk. My fiancé, in particular, was a big fan of printing trinkets.
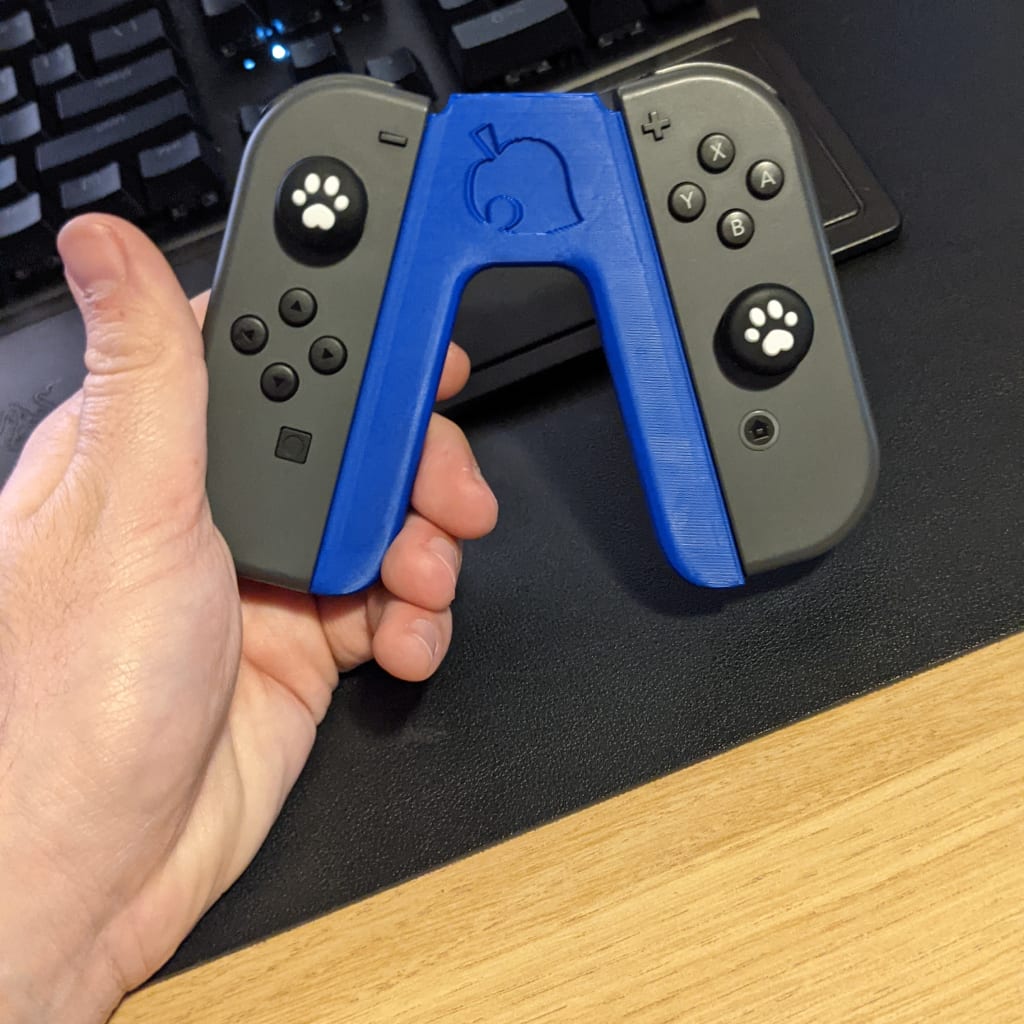
Yes, this was back when Animal Crossing just came out.

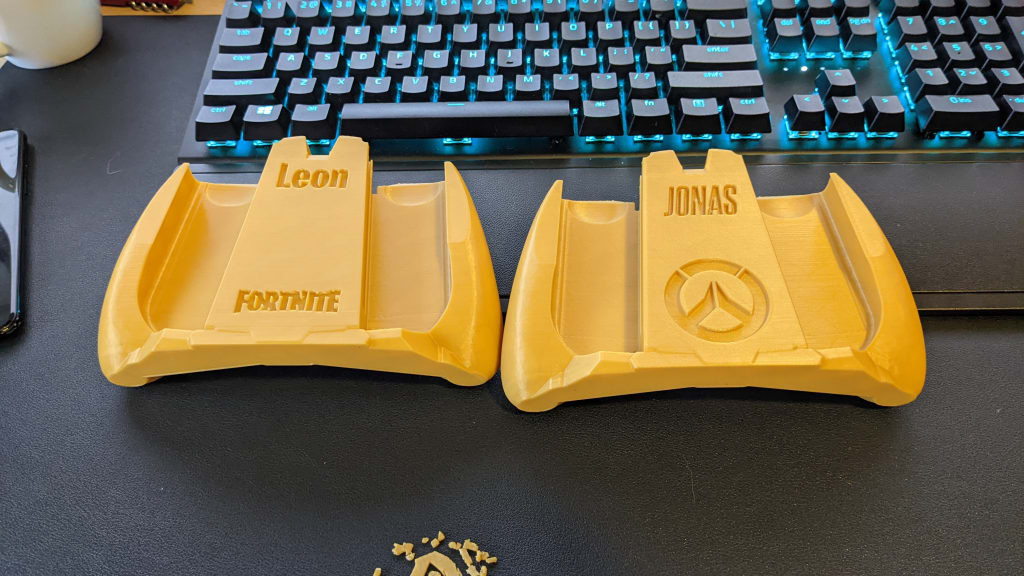
One of the biggest advantages of 3D Printing is that you can make very specific things and design them completely according to your own wishes. For example, for my brothers-in-law we made switch Joycon holders with their own name in it, and logos of favorite games.
First own designs
In my first post about 3D Printing (Dutch only) I mentioned that I use Tinkercad, and that I was looking to upgrade to Fusion 360. That post was pretty much the last time I touched Tinkercad, because I haven’t used anything else since.
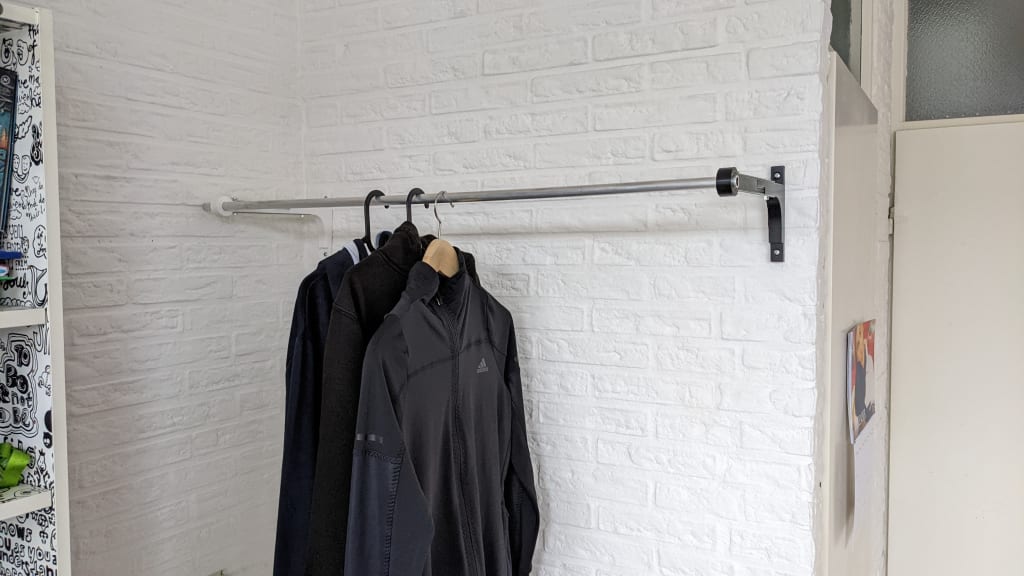
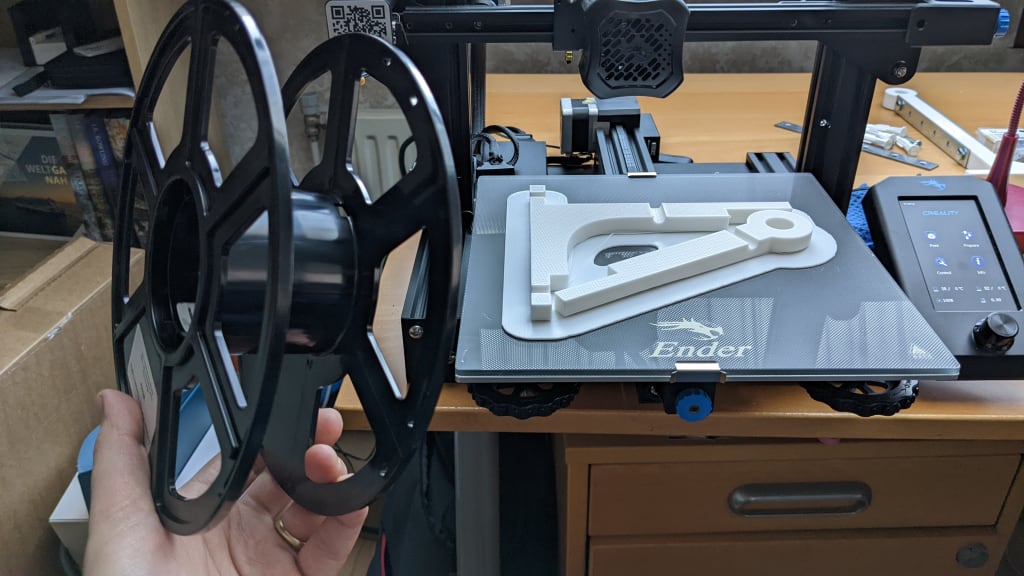
The nice thing about Fusion is that you can set variables, with which you can adjust the entire model in one go if something is too loose or too tight. This makes it very easy to work iteratively, and quickly create new versions if your prototype turns out not to work fine enough. The first model I made in Fusion is this clothes rack.
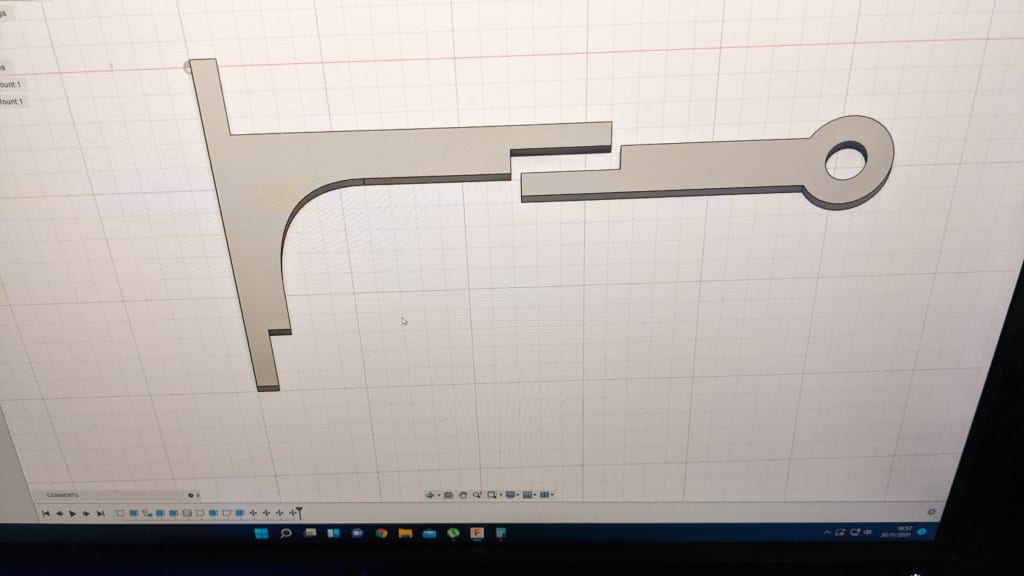
Since I’m a big boy, the clothes rack had to hang far from the wall. To make it all fit on my printer, I had to print it in 2 parts, and there was no room to make a 45° bearing beam. To give it enough strength at that distance, the 2 parts are sandwiched together between 2 metal plates with holes in them for bolts. Couldn’t I just print that? Maybe, but Newton’s an asshole.
Why did I print them in 2 different colors? Murphy is also an asshole.
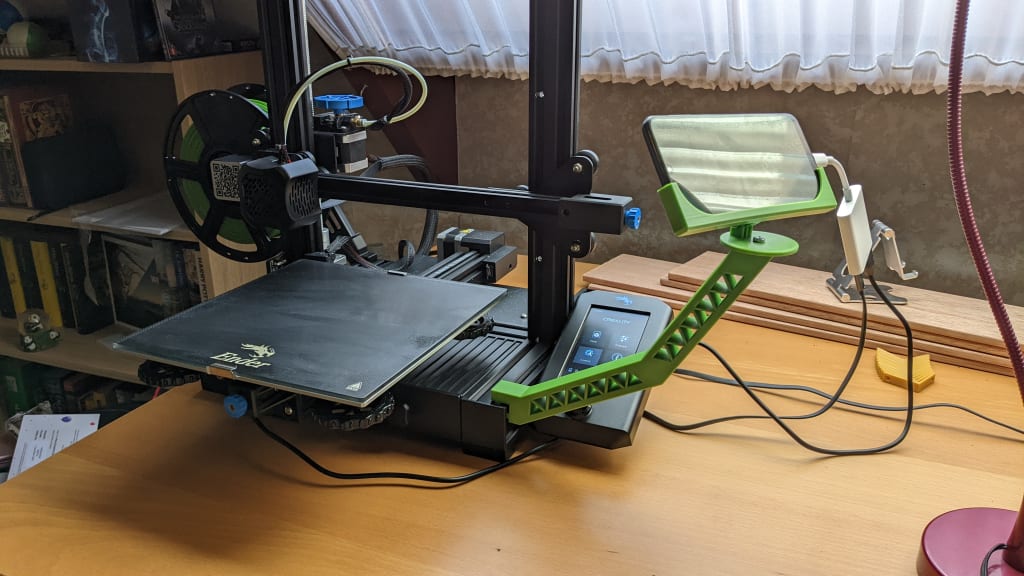
Printer Upgrades
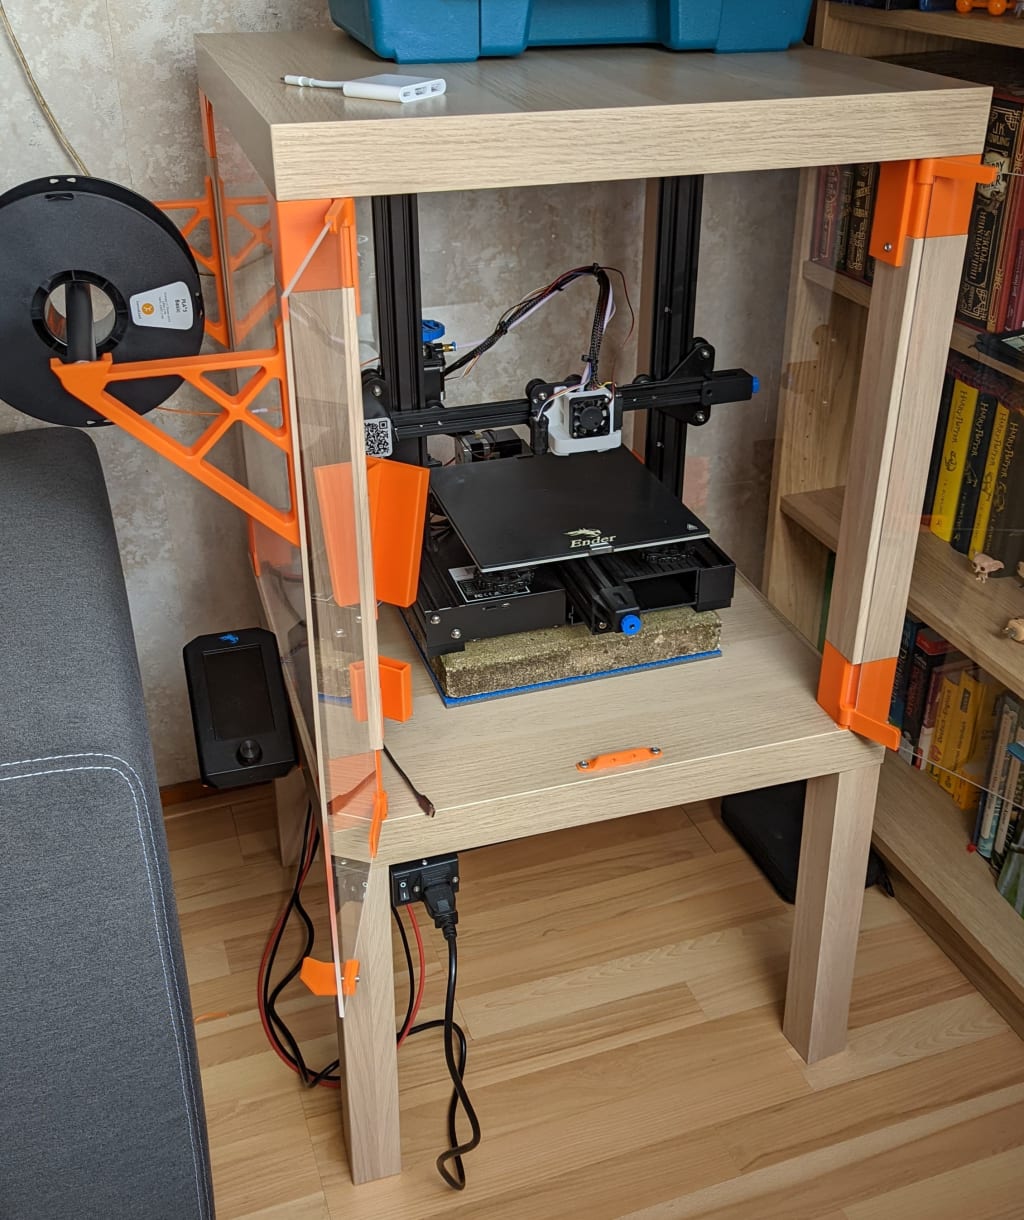
Over the year I’ve been tinkering with my printer a lot, but because Cloudinary gets angry when I request hundreds of photos per page, I limit myself to 2. First OctoPrint. OctoPrint is an open-source software package that allows you to wirelessly control your printer and monitor it with a webcam. In general, Octoprint runs on a Raspberry Pi with the operating system OctoPi, but you can also run it on certain Android phones with the app Octo4A. The latter has the advantage that you do not have to buy a separate webcam, because the phone already has a built-in camera. The camera stream is a lot less reliable than on an RPI, but I’ve never had printing problems with it. In April I upgraded to an RPI with camera, because there just wasn’t a nice reliable place to fix the rather loose cable in my lack enclosure.
My LACK Enclosure already has its own blog post, but I have to say something about it. I’ve been using it for about half a year now, and while it works perfectly at dampening noise and keeping heat in, it makes fiddling around with the printer a whole lot more. Adjustments and calibrations are just less comfortable to do now. I think I’ll make a newer version in the future that will make maintenance easier, but since there’s a chance we might move next year, that’s going to be a project for the new house.
Home improvements
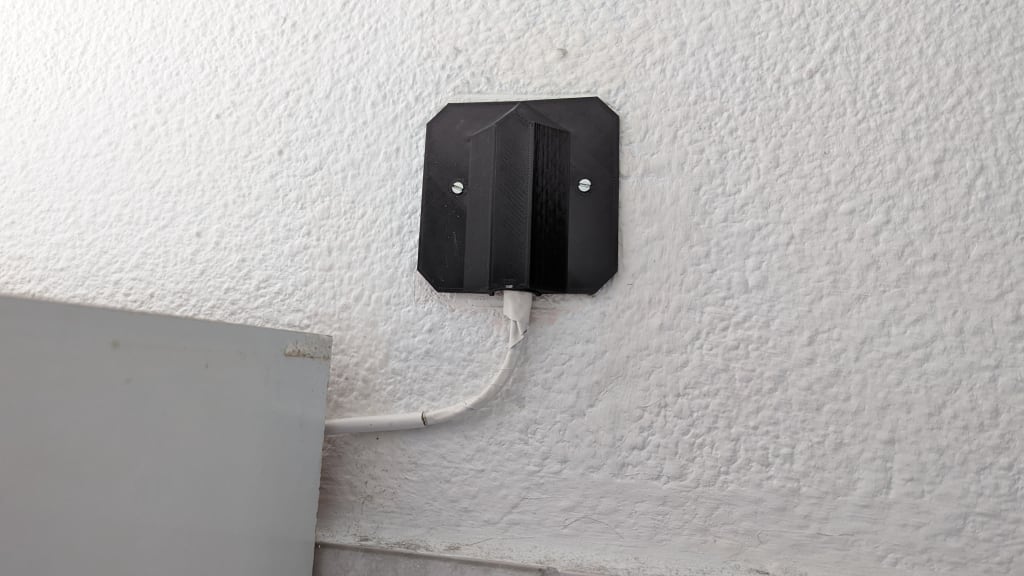
Where my printer has mostly made points with my fiancé is the things I’ve done around the house with it. From caps for ugly cables, to a table and a cupboard. Almost every room has something I printed to solve a specific problem.
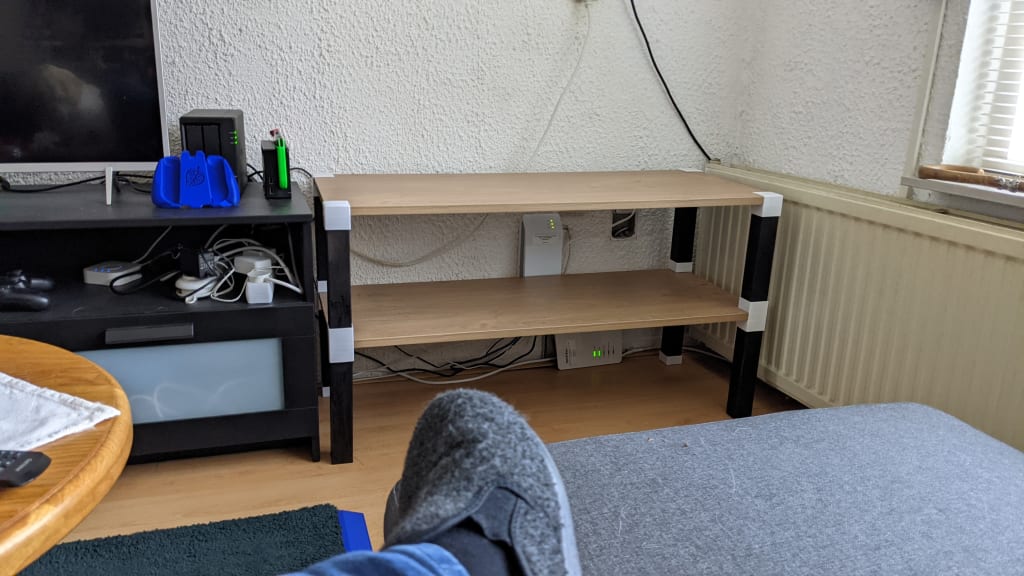
At the end of November last year I made a table to hide the cables from our modem and router. At the time, I had zero confidence in making my own furniture, so I had 2 planks and 8 small blanks cut to size and snapped together like IKEA furniture. The table is still standing, without causing any problems.
A 3D printer is a hammer that makes everything look like a nail, but sometimes you have to use Real Men’s Tools™. My father bought a welding machine years ago, but never used it again on the project he got it for. Around that time I had been watching a lot of videos from I Like To Make Stuff including some videos about welding. It looked pretty easy, so I asked my dad if I could borrow his welding machine to make a cabinet.
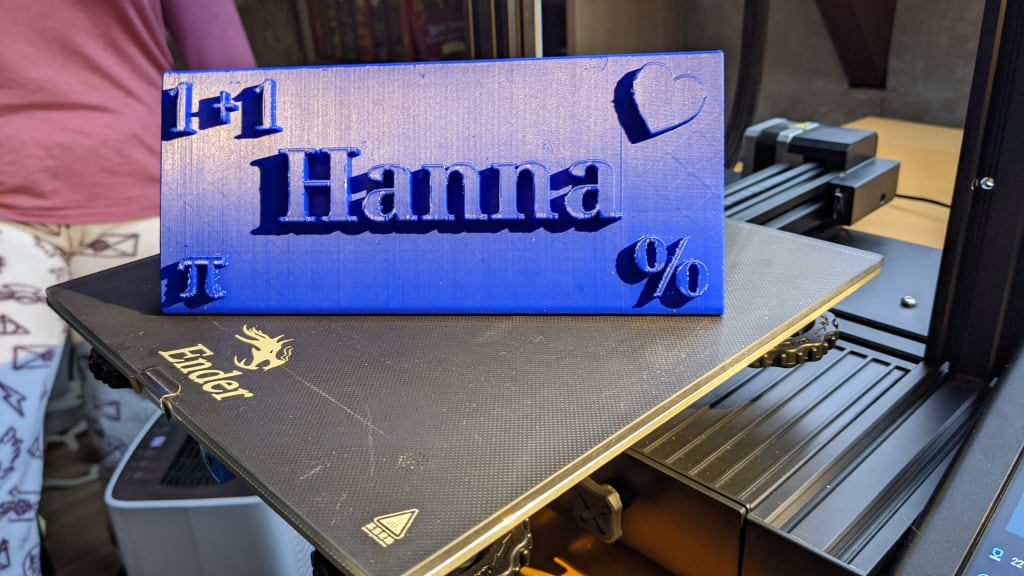
Since we live quite close to the German border, and Hanna is originally from Germany, we get groceries from Germany about once a month. This only gives the problem that we have 2 different deposit crates. In the beginning they were just stacked on top of each other, but besides it being annoying to have to lift one of the crates, it also caused problems if we had a lot of returnable bottles. The solution: The Crate Cabinet!
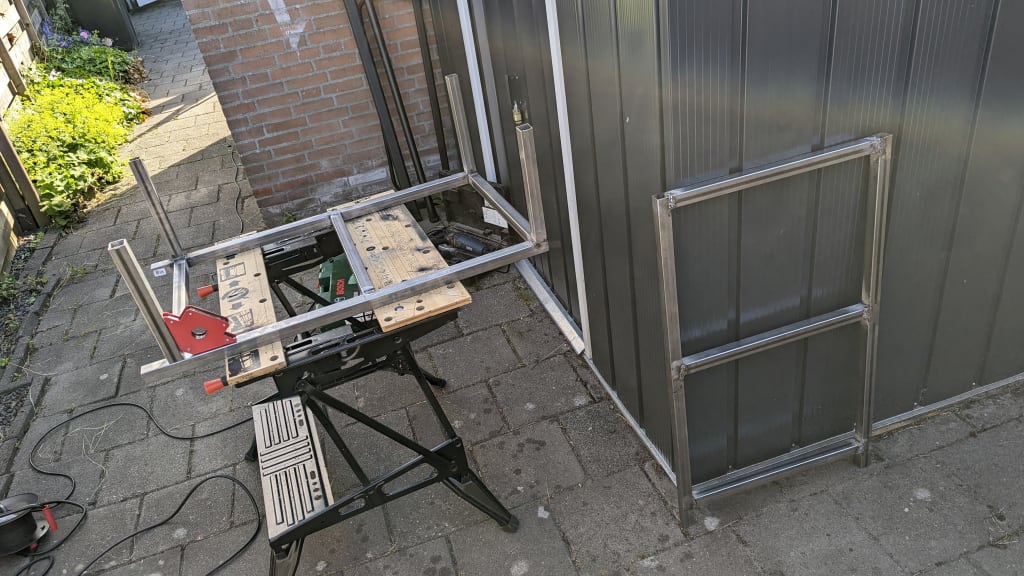
Since everything had right angles, this was the ideal welding project for a beginner. This whole cabinet took me almost all weekend, which was not so bad for how long I spent learning how to use the welder. The weld edges may not be perfect, but you have paint and a grinder for that.
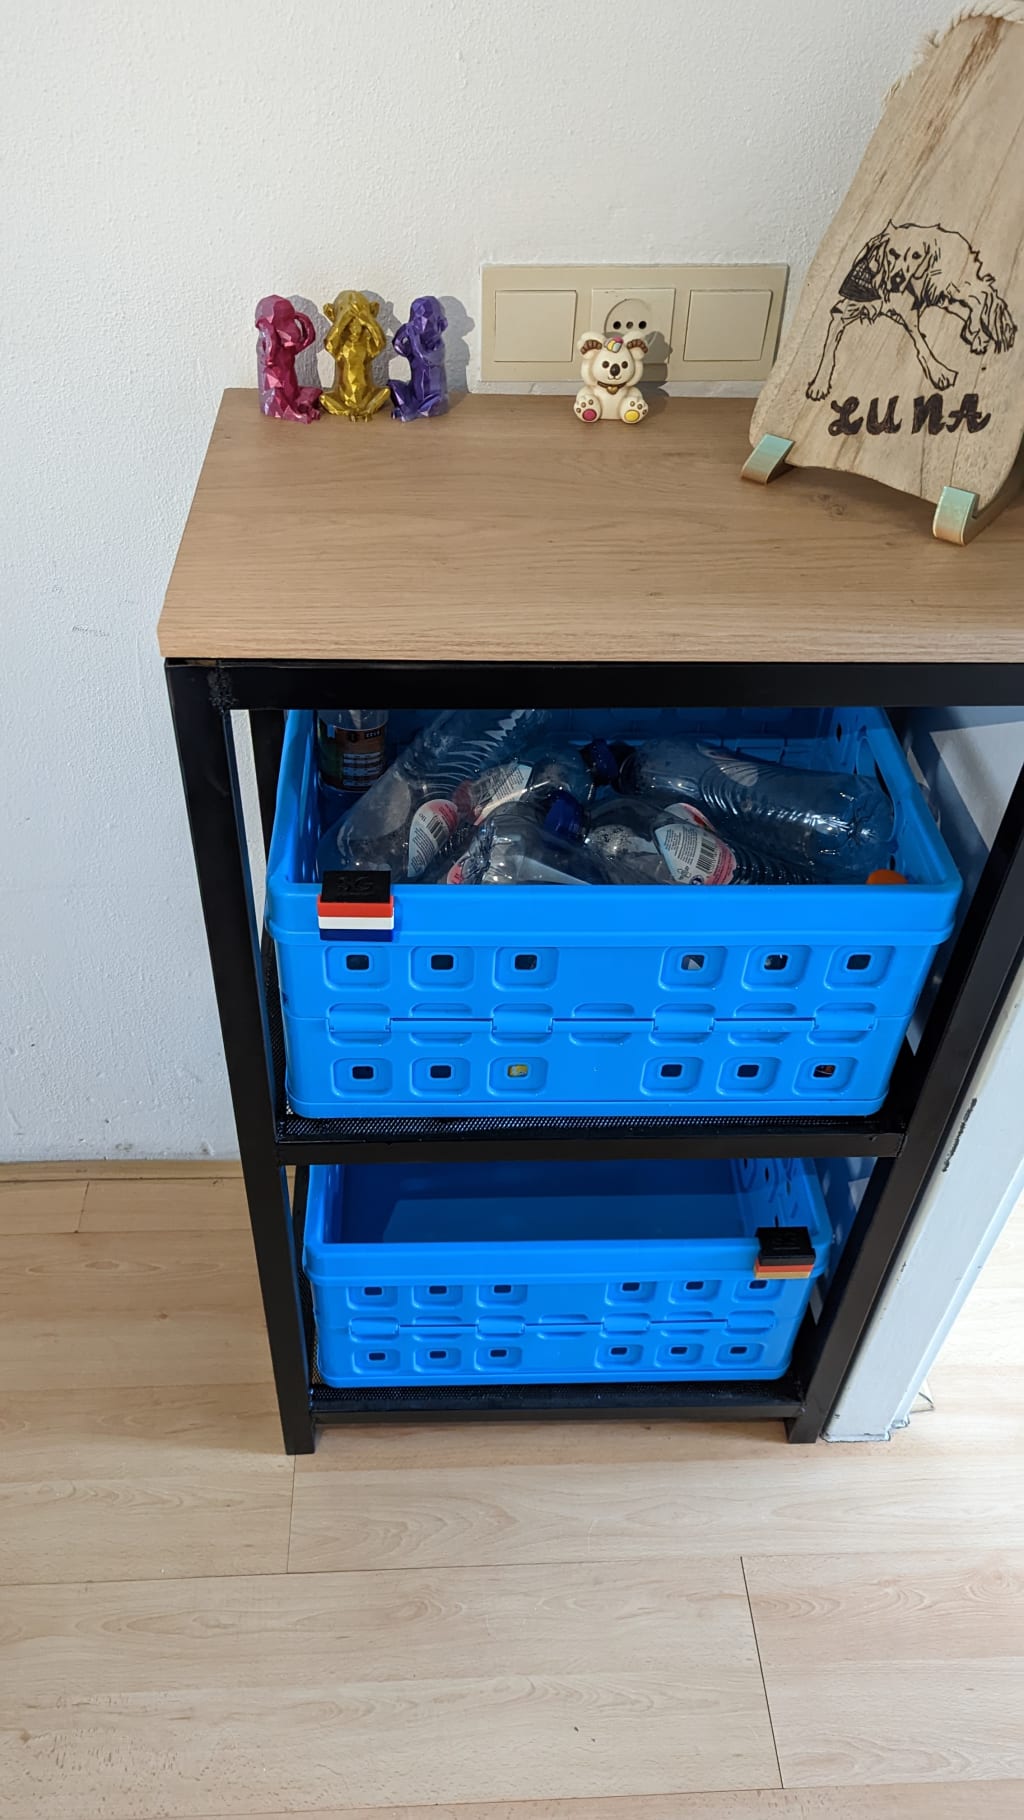
As finishing touches I still used my printer. Not only were the edges of the legs too rough for wood (and one of the legs a little too short), but I also printed a few clips that hold the wooden top, and the flags for which bottles go in which crate.
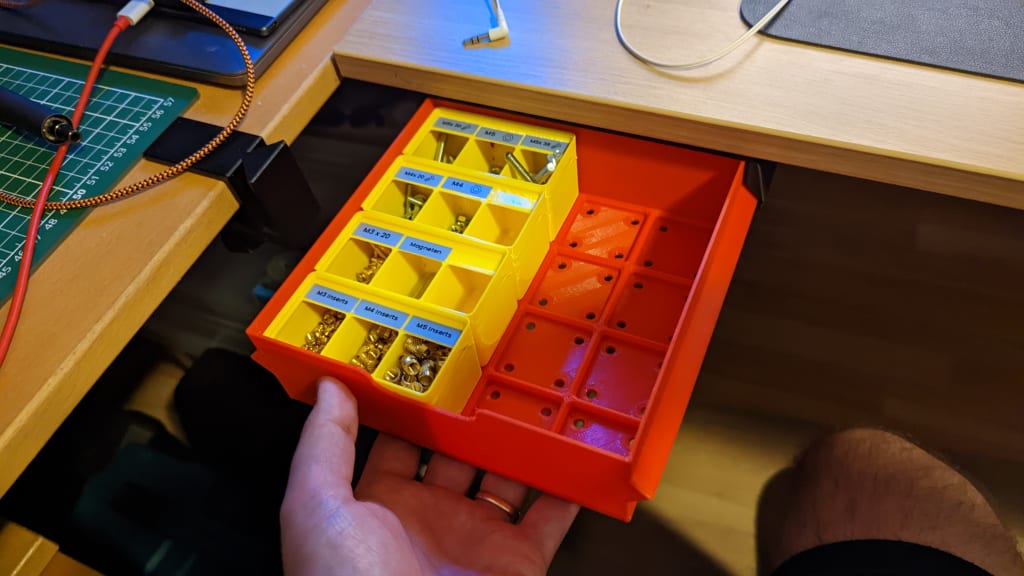
Gridfinity
Around April 1, Zack Freedman released his Gridfinity Modular Storage System, and I’ve been spoken to on the bandwagon right away.

Not only did I completely Gridfinitied my desk drawer, I also made a Gridfinity drawer.
Electronics projects
Before I start on my real projects, I want to show you my Frame of Shame.
This thing took days to print, way too much filament, and sat on top of my closet for months because I just didn’t want to throw it away. The goal was to make a MagicMirror with an old display. The problem was that the screen was way too heavy to hang on the wall with that stupid frame on it. I also ordered mirror foil, but not only was it more “mirror-inspired” than really reflective, it was also almost as tedious to stick on neatly as Satan’s kitchen utensils, plastic wrap. This project cost way too much time and money, and I’m glad I threw the project in the bin. Instead, I made a smaller version with cell phones, and without that hateful foil.
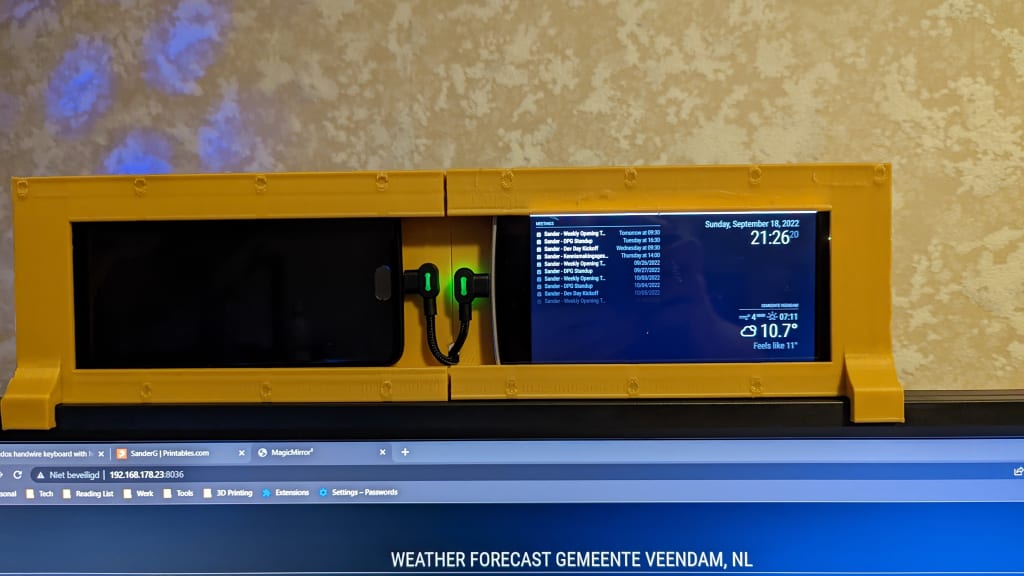
This version is by Hanna, and it looks a bit different now, but this photo only shows data from me, which has long since expired. On the screen that is off in the photo, there is normally a todo list.
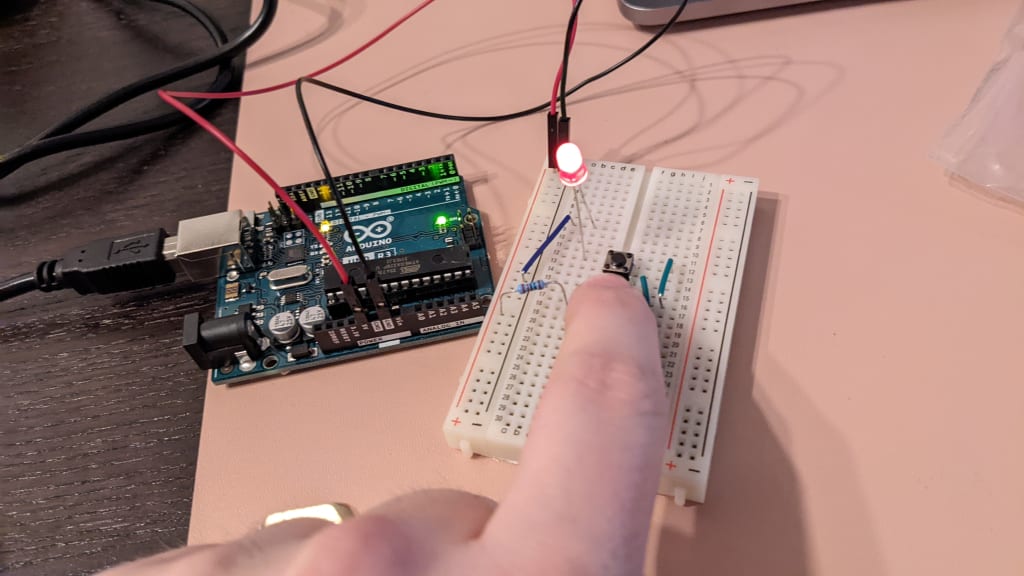
Ah, Arduino, every maker has done something with an Arduino at some point. In my case it was something left a light on and then never again. In the meantime I have made 3 keyboards with RP2040-based microcontrollers, and I know a lot more about what to google. One of the reasons I’ve never seen a use for working with an arduino is the size. If I have the space for a computer brain the size of a Raspberry Pi, I’m much more inclined to throw in a Raspberry Pi, and enjoy writing my code with Node.js. I think I’ll be dusting off my Arduinos in the future, as they are much easier to prototype on a breadboard than the smaller microcontrollers that you then have to solder headers to.
Conclusion
Since this post is already getting too long, I have to skip a lot of stuff for now. I do want to tell you one important thing. Never let yourself be told that you are not creative or handy enough to make something. Not by others, but certainly not by yourself. I’ve used my printer a lot as a handhold to make things, without being handy. I was good with technology, was what I told myself. But as I started doing more and more things, learning more and more things by watching videos about it, my confidence grew over the year and I dared to take on more and more challenging projects. At the beginning of this year I was already excited to make a wooden box for a game of my brothers-in-law, but now I think I can make a better coffee table than the one I grew up with all my childhood. It’s going to be better anyway, because it’s going to have RGB LEDs. Everything is better with RGB LEDs.
Finally, I want to give you some links to channels that have helped me a lot to try things out:
- Zack Freedman / Voidstar Labs
- I Like To Make Stuff
- Evan and Katelyn (Warning: They are very American)
- Morley Kert
- Maker’s Muse
- CNC Kitchen
- Thomas Sanladerer
- 3D Printy
- Product Design Online