IKEA LACK Enclosure for Ender 3 v2
Last updated at Sunday, February 27, 2022.
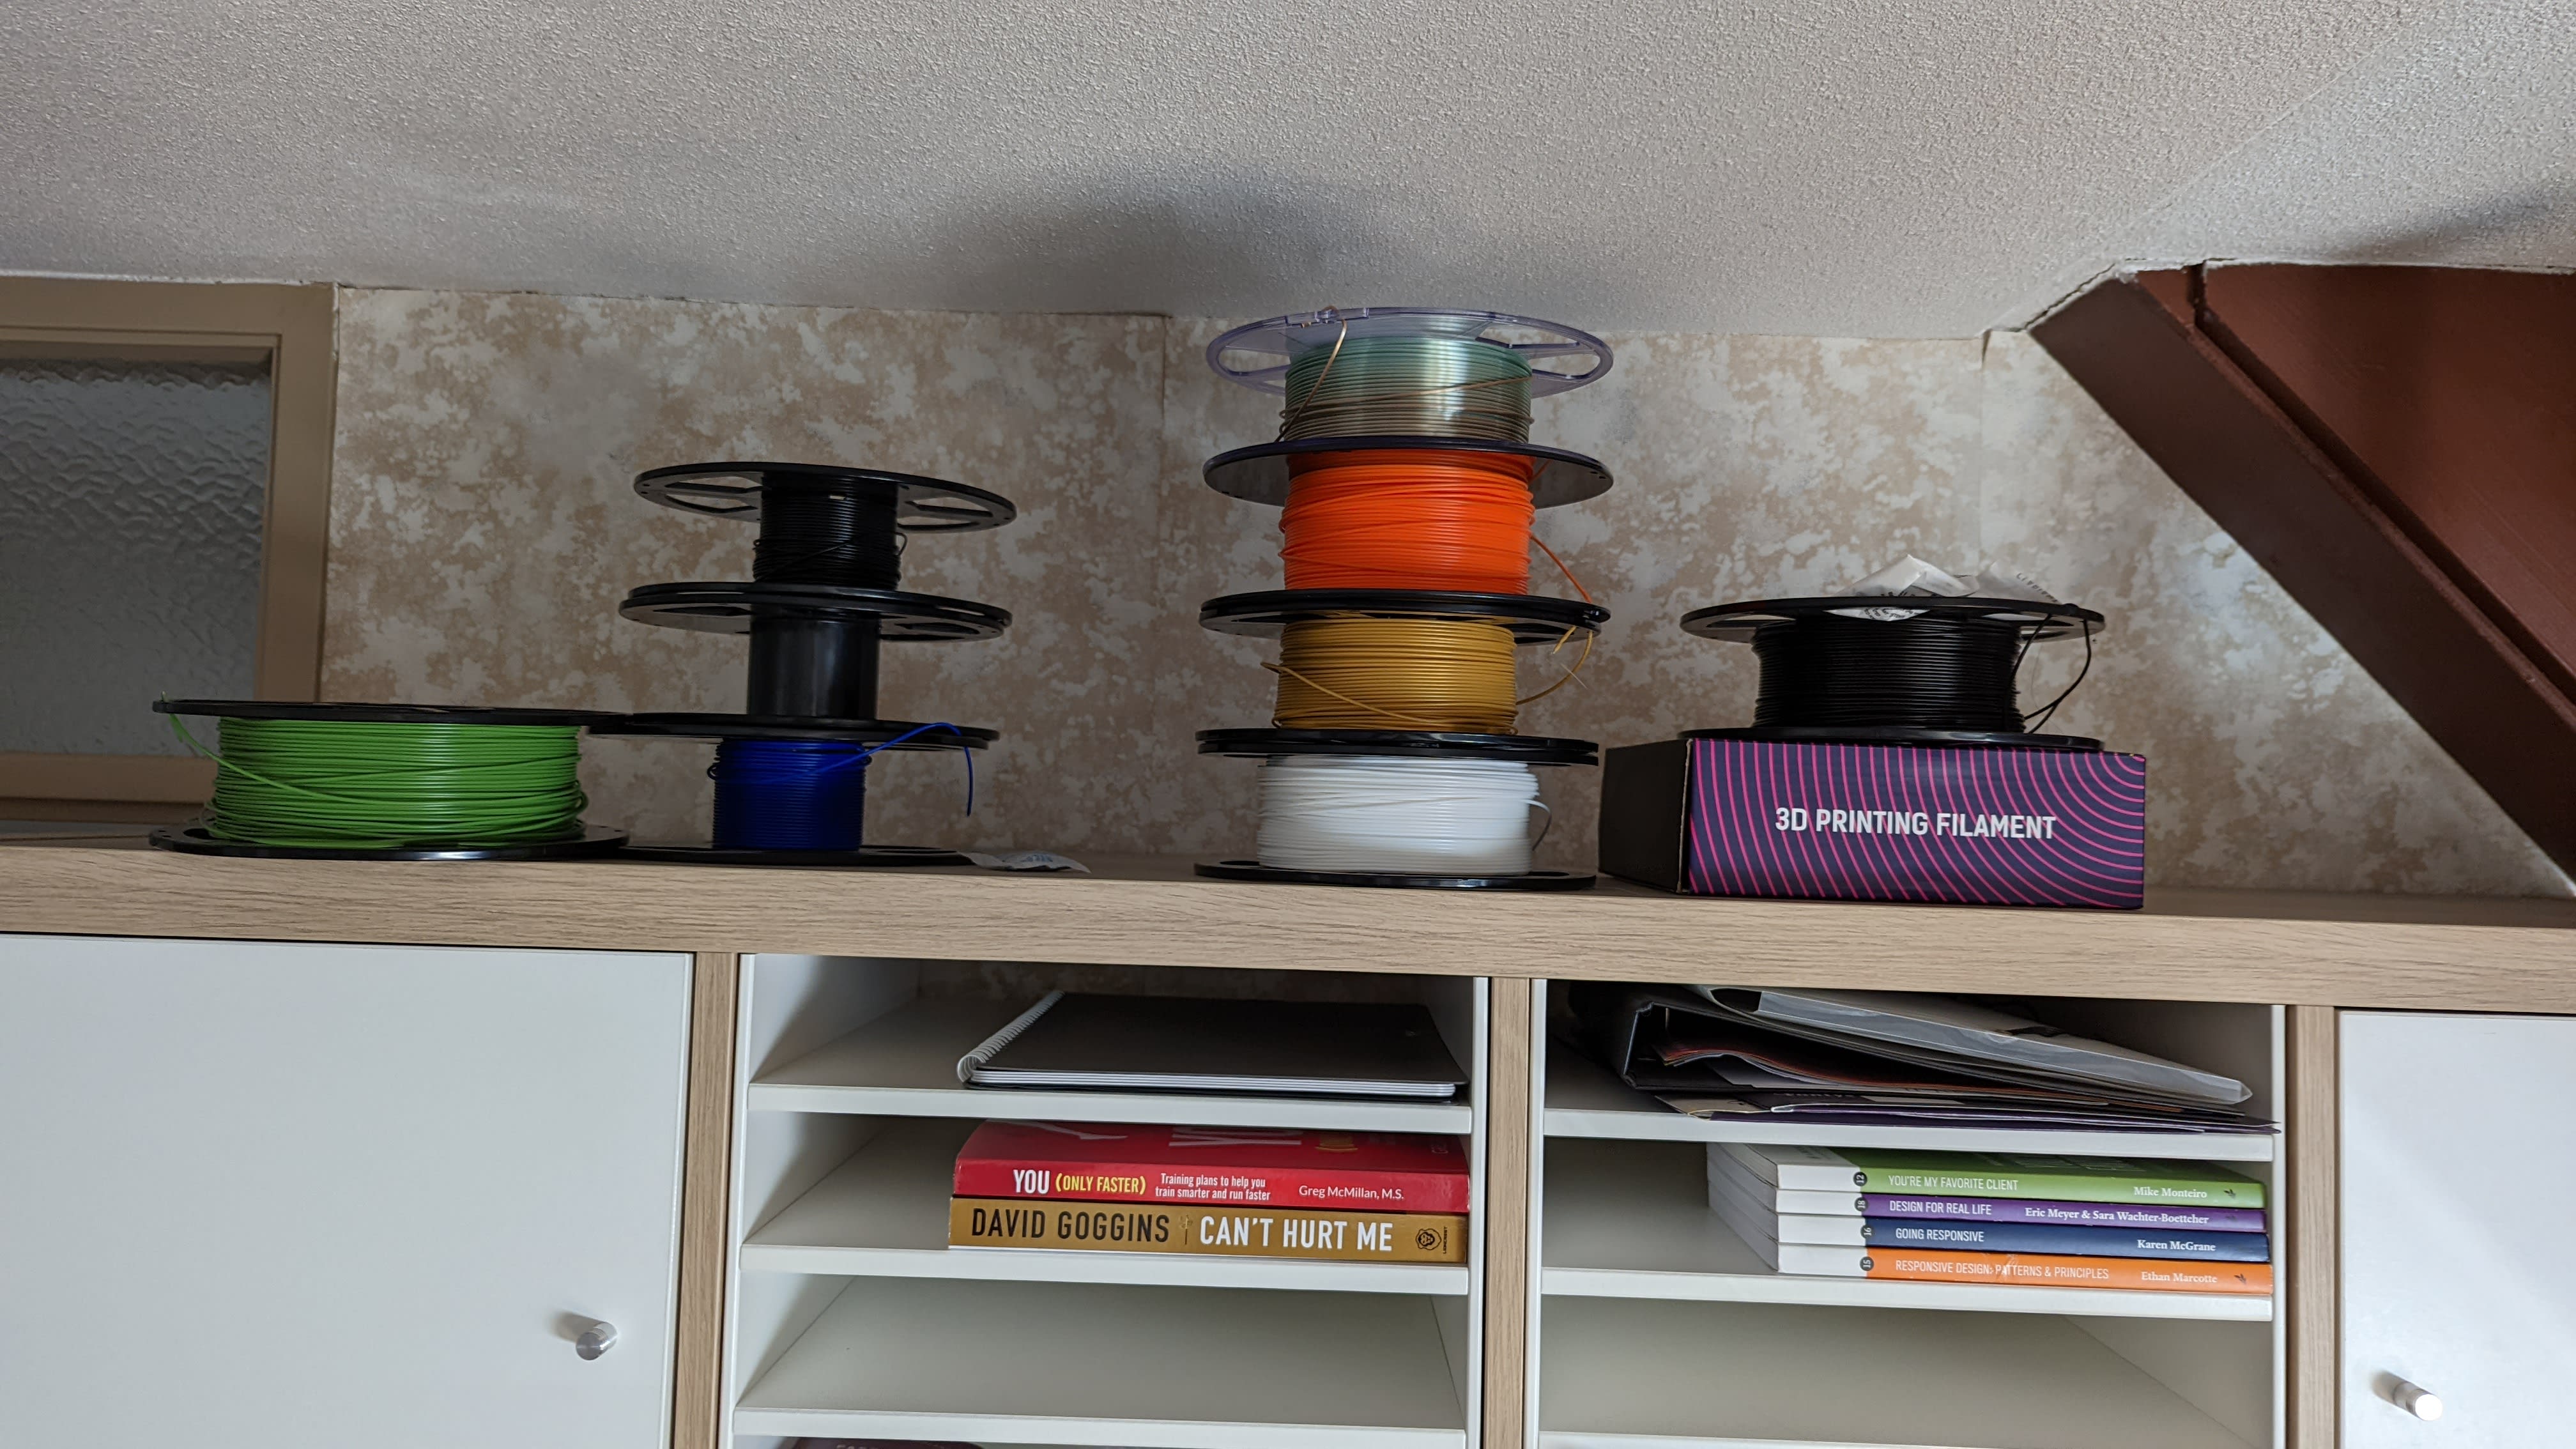
As I mentioned in a previous post, I have had a 3D printer, the Ender 3 v2. My printer hasn’t been off much in those months (shown by the rolls of filament that have been pushed through it…). And although I am very happy with it, my printer has 2 major drawbacks. First of all, it makes quite a lot of noise during printing. I have already partly solved this by installing a quieter fan, but it is still not nice to sit next to it for a whole working day when it’s busy with a long print (with headphones on it’s doable, but I don’t like to have a headset on all day).
The second problem is that it takes up quite a lot of space on my 2nd desk. We will tackle both problems in this post.

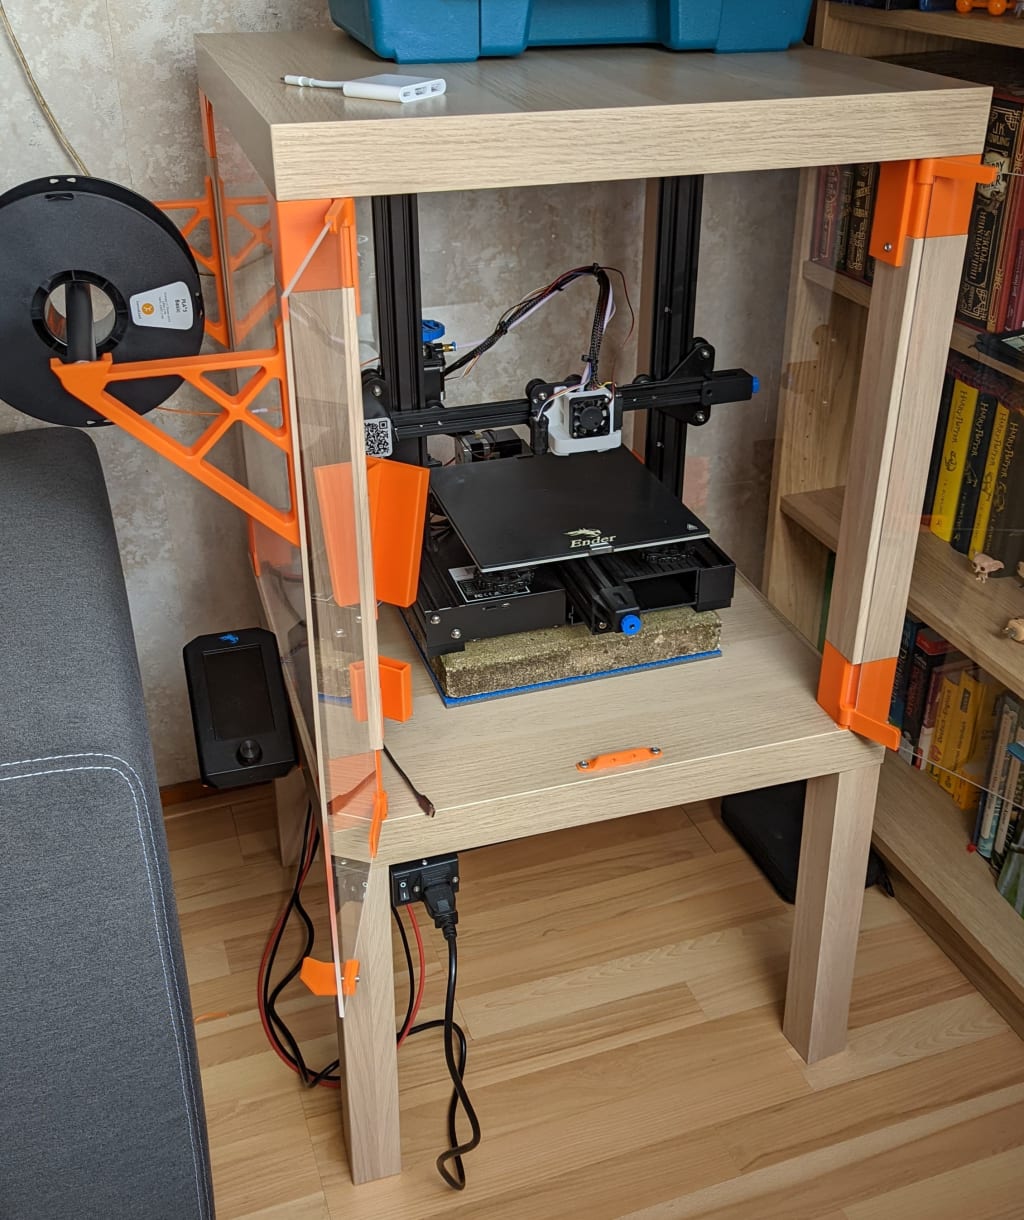
The IKEA LACK table is a widely used product within the 3D printing community for making printer enclosures. They are inexpensive and the right size for most printers. To fit the Ender 3 v2, you will need extra printed parts. For this build I followed this tutorial, with some changes for personal preference. If you want to make your own, I can only recommend making your own adjustments. At the time of writing, I’m not quite done with it myself. For example, I want to print some cable organizers to make the cables a bit neater.
Bill of Materials
In the Dutch version of this post I’ve included the links to the products, but since all are local shops, it’s not useful for the international version.
| 2x IKEA LACK table | €17,98 |
| 2x 1kg PLA | €50,- |
| Tube of PolyMax kit | €13,49 |
| 16 AWG Silicone cables | €9,99 |
| 3x 44cmx52,5cm 3mm Plexiglass | €34,13 |
| 2x 22cmx52,5cm 3mm Plexiglass | €11,37 |
| Verzendkosten Plexiglas | €8,95 |
| 4x 5mmx2mm Neodymium magnets | €5,95 |
| Plastic glue | €4,69 |
| Small piece of PTFE tube | €6,20 |
| Total | €162,75 |
In total not as cheap as I assumed in the beginning, but a lot cheaper than buying a dedicated enclosure.
Prints
- bottom_corners.stl (all if you want the cable rail on the right, if not, remove the corner with the cable rail from this file)
- top_corners.stl
- hinges.stl
- bottom_feet.stl
- Door Handles for LACK Enclosure
- Side-mounted Spool Holder for LACK Enclosure
- *Parametric Phone Holder for LACK Enclosure
- *Back Left Leg with Cable Rail for LACK Enclosure (If you want the cable rail on the left)
- *Ender 3 v2 Left Display Mount for LACK Enclosure
* = Optional
Building tips
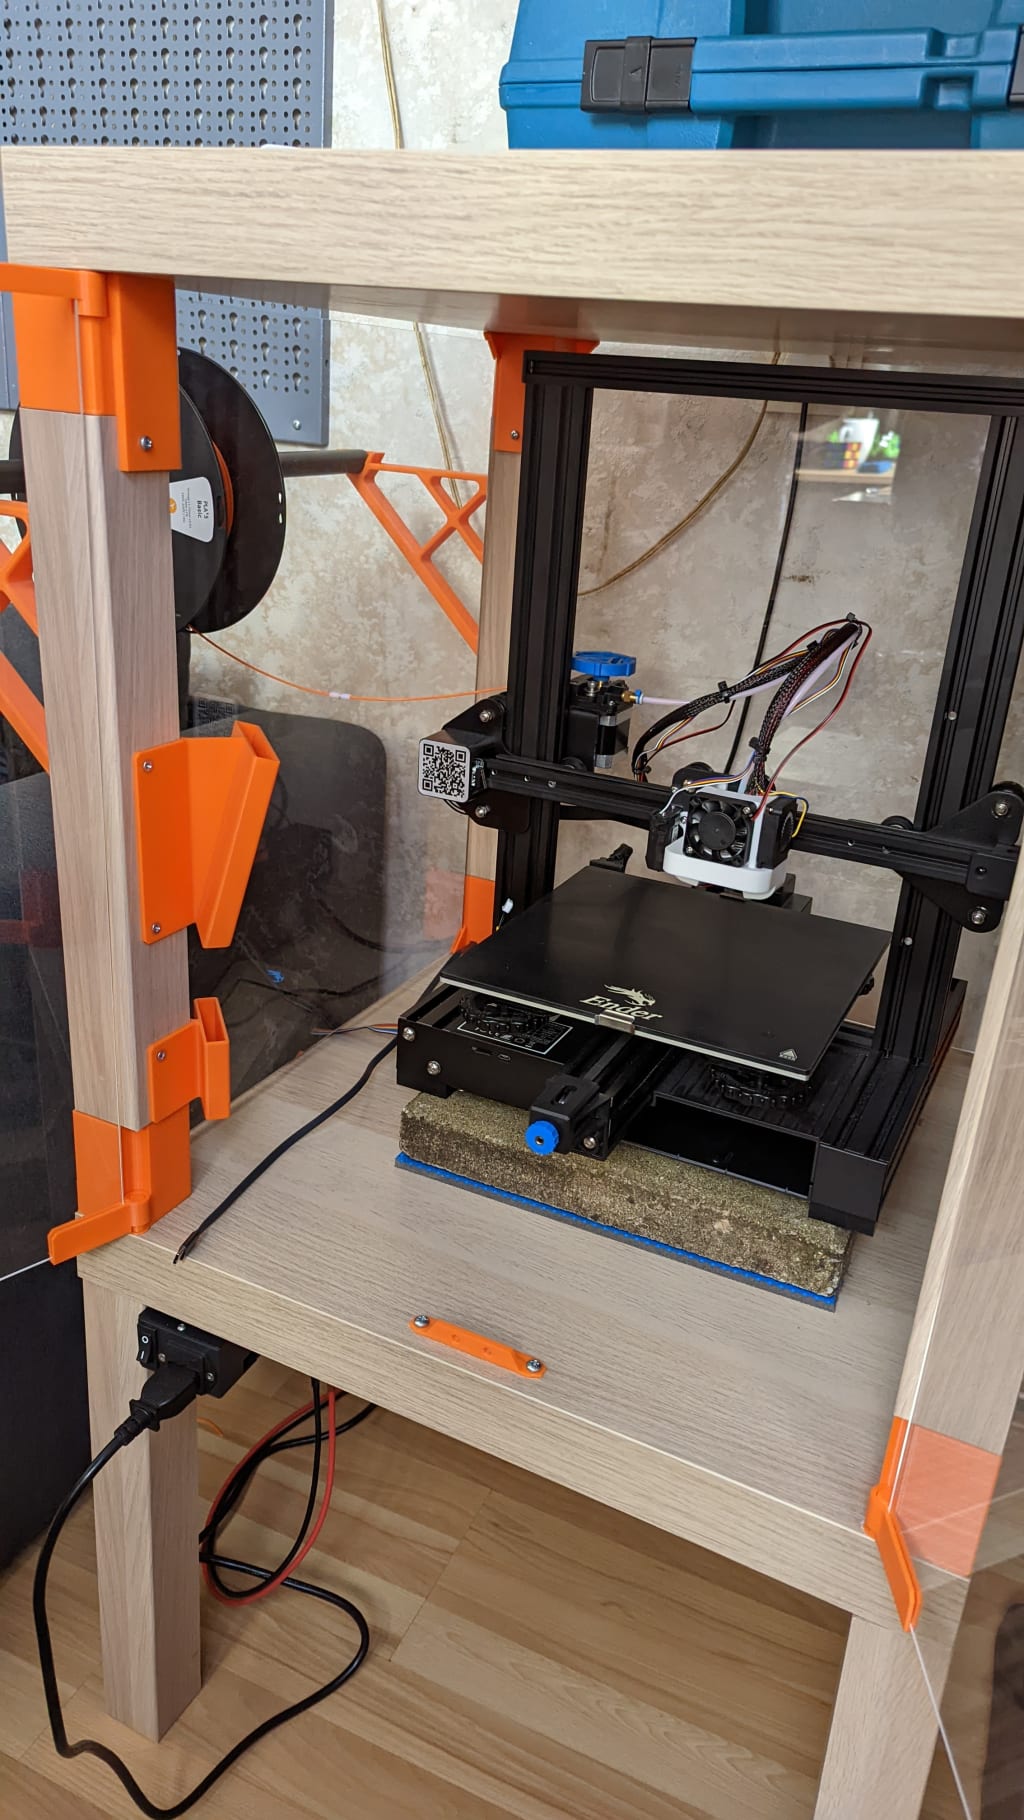
One of the things I did wrong myself is the hole for the filament, drilled in the center of the plate. Then it is only in an annoying bend, which makes it A) not easy to change filament, and B) it can possibly lead to problems. Make sure you have your printer in place first, then mark the point where the extruder hole aligns with the Plexiglas.
Although the display does not need to be outside the enclosure, it is important for the life of the PSU. I attached it to the front under the cabinet, so that the power button is in a nice place, but you can choose where you want it.
Finally, I put the printer on a paving stone, which is again on an old yoga mat. For a better explanation of this, I refer to CNCKitchen, who made a great video about it.
End Note
The printer is in place, which means I finally have room on my desk for other clutter (honey, I need to get a 2nd printer!). I had actually thought that a few sheets of Plexiglass wouldn’t stop much sound, but I was really positively surprised. I’ve walked into the office a few times now and was shocked that a print was on, because all I heard was a soft buzz. The housing also keeps the heat in well. Haven’t measured it yet, but it feels nice and cozy inside when the print is just finished. For something like PLA this does not matter much, but for ABS this is something that is required.